If you want to learn how to stretch an image in Pixlr, the good news is that Pixlr gives you several simple ways to do it, depending on what kind of stretch you need. You may want to make a photo wider for a banner, taller for a story graphic, longer for a product mockup, or slightly reshape a layer so it fits a design. Stretching is different from normal resizing because it changes the width, height, or shape without always keeping the original proportions. That can be useful, but it can also distort an image if you go too far. In this guide, you will learn what image stretching means, when to use it, how to stretch a full image or one layer in Pixlr, how to avoid quality loss, and which mistakes to watch for before you save your final design.
What It Means To Stretch An Image In Pixlr
Stretching an image means changing its dimensions unevenly. Instead of making the whole image larger or smaller while keeping the same shape, you adjust only the width, only the height, or one side more than another. This makes the image look wider, taller, thinner, longer, or skewed.
In Pixlr, this can happen through tools such as image size, canvas size, free transform, free distort, smart resize, crop adjustments, and layer transformation. The best tool depends on whether you want to stretch the entire image, a selected layer, a background, a graphic element, or only a specific object.
A normal resize keeps the aspect ratio locked, so the image stays proportional. A stretch usually happens when that lock is turned off or when you drag transform handles unevenly. That is why stretching can be useful for design work but risky for photos, faces, logos, and products that need to look natural.
Why Stretching Images Matters
Stretching an image is often necessary when a picture does not fit the space where it needs to appear. Social media banners, website headers, thumbnails, posters, presentations, and ads all have specific sizes. If your image is too narrow or too short, you may need to stretch, resize, crop, or expand it to match the format.
The main benefit is flexibility. Instead of abandoning a good image because it does not match your canvas, you can adapt it. Pixlr makes this especially helpful because it runs in a browser and does not require a complex desktop editing workflow for basic transformations.
Still, stretching should be done carefully. A small stretch may be invisible, but an extreme stretch can make people look unnatural, text look warped, and products look inaccurate. The goal is not just to make an image fit, but to make it fit while still looking intentional and professional.
Stretching Compared With Resizing And Cropping
Before using Pixlr, it helps to know the difference between stretching, resizing, cropping, and expanding. These terms sound similar, but they solve different problems. Choosing the wrong method can make the final image look awkward or reduce quality more than necessary.
- Stretching: Changes the width or height unevenly, which can alter the shape of the image or layer.
- Resizing: Makes the image larger or smaller, usually while keeping the original proportions.
- Cropping: Removes parts of the image so the remaining area fits a specific shape or size.
- Canvas Resizing: Changes the workspace size without necessarily changing the image content itself.
- Smart Resize: Helps adapt a design to a new size while trying to preserve a more balanced composition.
- Generative Expand: Extends the image area by creating new visual content around the original picture.
If you simply need a larger version of the same image, resize it with proportions locked. If you need the image to fill a different shape, crop or expand may be better. If you specifically need a wider or taller look, stretching is the direct method.
How To Stretch A Whole Image In Pixlr
The most direct way to stretch a complete image is to change its image size and unlock the proportion setting. This changes the dimensions of the entire file, not just one layer. It is useful when you need the final exported image to be a specific width and height.
-
- Open Pixlr and choose the editor version you want to use.
- Upload your image from your computer or device.
- Go to the image sizing option in the top menu.
- Enter the new width and height you want for the image.
- Turn off the option that locks, constrains, or preserves proportions if you want a true stretch.
- Check the preview carefully to see whether the image looks distorted.
- Apply the change once the size looks right.
- Export the image in the file format you need.
This method is fast, but it affects the whole image. If the image contains people, logos, circles, text, buildings, or products, the stretch may be obvious. For small adjustments, it can work well. For larger format changes, consider using crop, canvas size, or generative expand instead.
How To Stretch A Layer In Pixlr
Stretching a layer is usually better than stretching the entire image when you are working with a design that has multiple parts. For example, you may have a background photo, a logo, a text layer, and a decorative shape. If only one element needs to be wider, transform that layer instead of changing the whole file.
Select The Correct Layer
Before stretching anything, click the layer you want to edit in the layers panel. This matters because Pixlr will apply the transformation to the active layer. If you choose the wrong layer, you might stretch the background, text, or another design element by mistake.
Use Free Transform
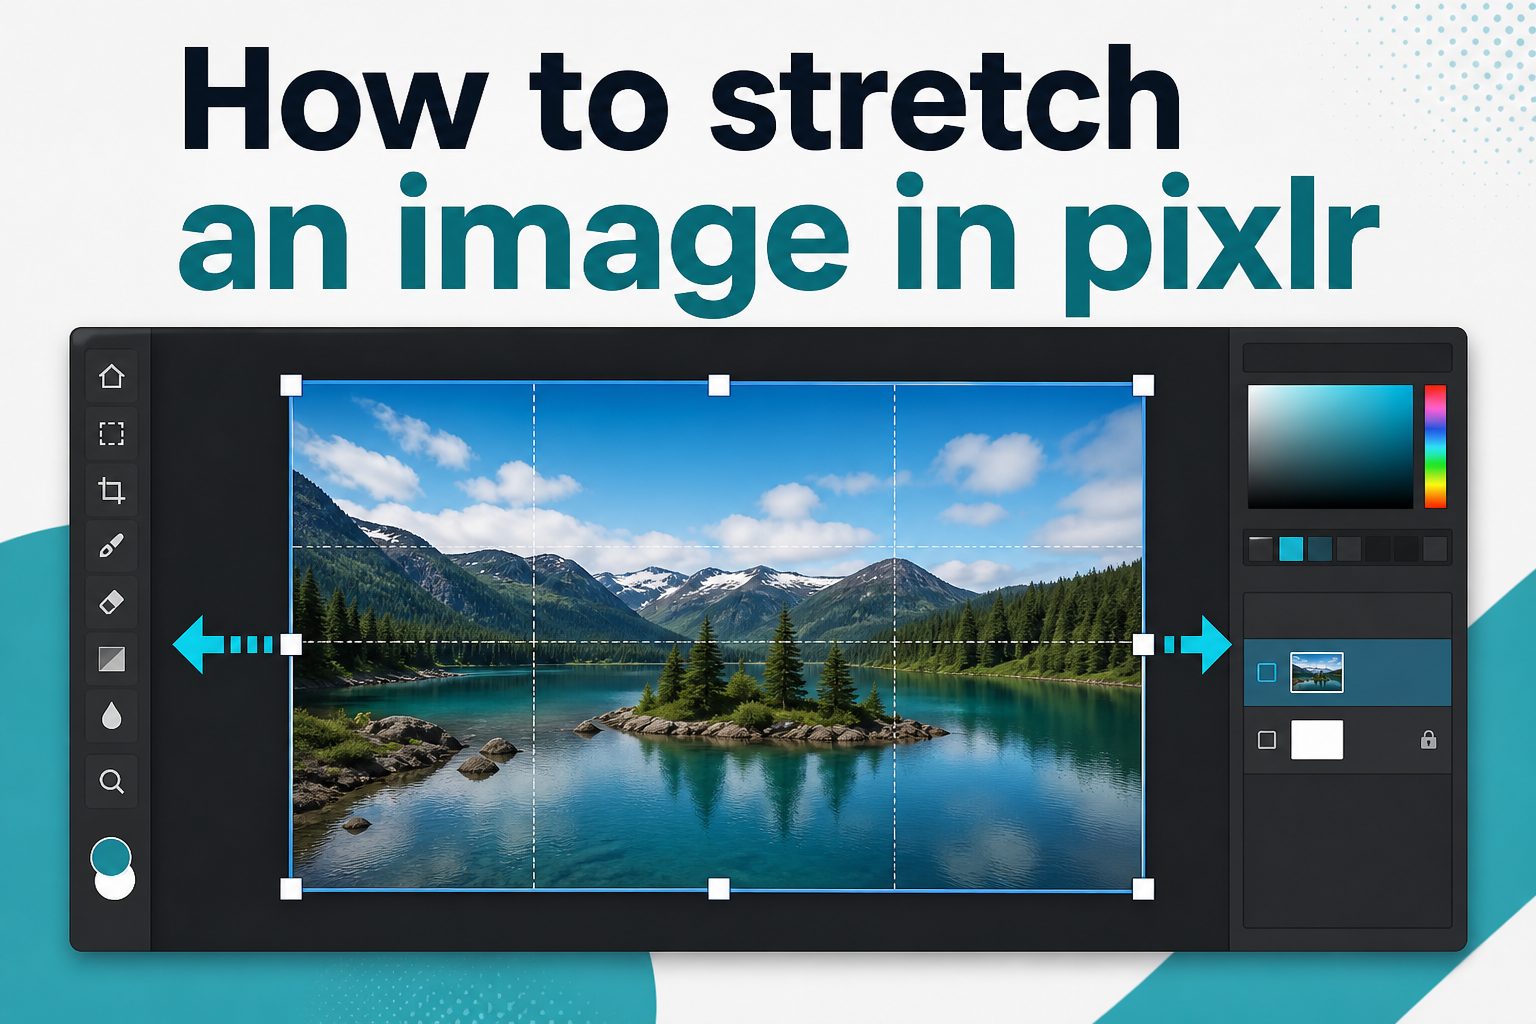
Free transform lets you drag the edges or corners of a layer. To stretch horizontally, drag a side handle outward. To stretch vertically, drag the top or bottom handle. If the layer keeps resizing proportionally, look for the option that controls aspect ratio or use the appropriate handle behavior for the current Pixlr editor.
Apply The Transformation
After you stretch the layer, apply or confirm the transformation. Then zoom out and check the full composition. A layer can look fine up close but feel unbalanced when you view the whole design. If it looks wrong, undo and try a smaller adjustment.
How To Stretch Only Part Of An Image
Sometimes you do not want to stretch the entire photo. You may only need to extend a background wall, make a plain sky wider, or pull the edge of a texture into empty space. In that case, selection tools and layers give you more control.
Start by duplicating your image layer so you can edit without damaging the original. Then use a selection tool to choose the area you want to stretch. Copy that selection to a new layer if needed. Once the selected part is isolated, use free transform to stretch only that area.
This works best with simple backgrounds such as solid colors, blurred areas, grass, sky, walls, fabric, gradients, and abstract patterns. It does not work as well on faces, hands, text, logos, detailed architecture, or objects with clear proportions. When the content has recognizable shapes, stretching only one part can create visible distortion.
When To Use Free Distort In Pixlr
Free distort is useful when a normal rectangular stretch is not enough. Instead of moving only the side or corner handles evenly, distortion tools let you adjust corners independently. This can help when placing an image onto a screen, sign, poster frame, box, book cover, or angled surface.
For example, if you are adding artwork to a laptop screen in a mockup, the screen may not face the viewer directly. A simple stretch may not match the perspective. Free distort lets you pull each corner into position so the inserted image appears to follow the angle of the screen.
Use this tool carefully. Distortion is powerful, but it can quickly make an image look fake. The best approach is to match the perspective of the target surface, zoom in around the edges, and make small corrections until the image sits naturally in the scene.
Best Settings For Stretching Without Losing Quality
Image quality depends on the original file, the amount of stretching, and the export settings. Pixlr can help you resize and transform images, but it cannot create unlimited detail from a very small or blurry source unless you use an upscaling or AI tool designed for that purpose.
- Start With A Large Image: A higher resolution file gives you more room to stretch, crop, and resize without visible pixelation.
- Avoid Extreme Changes: Stretching a photo by a small amount is usually acceptable, but doubling one side can look unnatural.
- Use Smoothing When Available: Smoothing can make resized images look cleaner, especially when enlarging them.
- Keep A Backup Layer: Duplicate the original layer before transforming so you can compare or revert if needed.
- Check At Full Size: View the image at or near 100 percent before exporting to spot blur, jagged edges, and distortion.
- Export Thoughtfully: Use PNG for graphics with text or transparency, and JPG for photos when file size matters.
If the image becomes soft after stretching, try reducing the stretch, using a larger source file, sharpening lightly, or using an upscaling feature before making the final export.
Practical Use Cases For Stretching Images In Pixlr
Stretching an image in Pixlr can be helpful in everyday design work. It is not only for advanced editors. Many simple projects require quick dimension changes, especially when one image needs to work across different platforms.
Social Media Graphics: A square image may need to become a wider cover, banner, or post background. A slight horizontal stretch can help fill the space, although cropping or expanding may look better for photos with people.
Website Headers: Website hero images often need wide dimensions. If the original photo is close to the correct size, stretching a plain background area can help it fit without removing important content.
Product Mockups: Designers often stretch labels, screenshots, or artwork to fit packaging, device screens, posters, or presentation frames. Free distort is especially useful for these projects.
Presentation Slides: A background image may need to cover a wide slide format. Stretching can work when the image is abstract, blurred, or decorative, but important subjects should stay proportional.
Simple Collages: When arranging multiple photos, you may need one image to fill a specific box. In many cases, cropping is better, but stretching can be acceptable for textures, patterns, and non-critical visuals.
How To Stretch A Background Cleanly
Backgrounds are usually the safest parts of an image to stretch. A plain wall, soft gradient, beach sky, tabletop, fabric texture, or blurred area can often be stretched without looking strange. The trick is to avoid stretching the main subject.
Separate The Subject From The Background
If the subject should stay natural, place it on a separate layer or use selection tools to isolate the background area. This allows you to stretch the background while leaving the subject untouched. It takes a little more time, but the final image usually looks much more polished.
Stretch From The Least Detailed Edge
Look for the side of the image with the least detail. A clean wall or empty sky is easier to stretch than an area filled with people, furniture, signs, or text. Pulling from a low-detail edge reduces the chance that viewers will notice the edit.
Blend After Stretching
After stretching, inspect the edge where the original area meets the stretched area. If there is a hard line, repeating texture, or blurry patch, use soft editing tools, clone-style correction, or careful cropping to make the transition less obvious.
Common Mistakes When Stretching Images
Most stretching problems come from pushing the image too far or using the wrong method for the job. A stretched image should look intentional. If the edit draws attention to itself, it usually needs a different approach.
- Stretching Faces Or Bodies: People are easy to distort. Even small changes can make faces, arms, or proportions look unnatural.
- Forgetting To Unlock Proportions: If the image keeps resizing evenly, the aspect ratio is probably locked. Unlock it only when you truly want a stretch.
- Stretching Text: Text often becomes unprofessional when stretched. It is usually better to resize the text layer using font size or recreate it.
- Ignoring The Original Resolution: A tiny image stretched into a large banner will often look blurry or pixelated.
- Using Stretch Instead Of Crop: If you only need a different framing, cropping may preserve quality better than distortion.
- Saving Too Soon: Always check the image at the final size before exporting. Problems are easier to fix before compression.
A good rule is simple: stretch areas that are visually forgiving, and protect areas where viewers expect accurate shapes.
Best Practices For Natural Results
The best results come from choosing the right Pixlr tool for the visual problem. Stretching is only one option. Sometimes the professional choice is to resize proportionally, crop the image, expand the canvas, or use an AI expansion tool instead.
Keep important subjects proportional whenever possible. If a person, product, logo, vehicle, phone, or piece of furniture is the focus, avoid changing only one dimension. Instead, resize it evenly and adjust the canvas or background around it.
Use small adjustments. A five to ten percent stretch may be hard to notice, especially on backgrounds. A large stretch can turn circles into ovals, faces into wide shapes, and product images into misleading visuals.
Work in layers. Duplicating layers gives you freedom to test ideas without losing the original. It also lets you stretch a background, object, or graphic separately instead of applying one change to everything.
Compare before and after. Toggle the edited layer or use undo and redo to judge whether the stretch actually improves the image. If the edited version looks less natural, try another method.
Expert Tips For Better Pixlr Editing
When you want a cleaner result, think like a designer rather than simply forcing the image into a box. The size requirement matters, but the viewer’s perception matters more. A technically correct size can still look poor if the subject is warped or the composition feels squeezed.
Use Canvas Size Before Stretching
If your image needs more space around it, increasing the canvas size may be smarter than stretching the picture. Canvas size gives you more working room while keeping the original image intact. You can then fill the empty area with color, background extension, or design elements.
Try Smart Resize For Finished Designs
Smart resize can be useful when adapting a completed design to a new format. It is often a better choice than manually stretching everything, especially when your design includes text, photos, shapes, and multiple layers that need to remain balanced.
Use Generative Expand For Missing Edges
If your image is too narrow or too short, generative expand may give a more natural result than stretching. Instead of warping the existing pixels, it creates new content around the image. This is especially helpful for skies, landscapes, backgrounds, and lifestyle images.
How To Choose The Right Method
The easiest way to decide is to ask what you are trying to protect. If the image has important shapes that must stay accurate, avoid stretching those shapes. If the area is only a background, texture, or abstract design, stretching may be acceptable.
- Use Image Size: When the whole file must become an exact width and height.
- Use Free Transform: When one layer needs to become wider, taller, or better positioned.
- Use Free Distort: When placing an image onto an angled object or perspective surface.
- Use Canvas Size: When you need more space around the image without changing the image itself.
- Use Crop: When removing extra parts solves the size problem more naturally.
- Use Generative Expand: When the image needs new edge content instead of warped existing content.
This choice is what separates a quick edit from a clean edit. Pixlr gives you several tools, but the best tool is the one that changes the fewest important details.
Final Checklist Before Exporting
Before you save your stretched image, take a minute to review it. This short check can prevent common problems and help your final file look cleaner across websites, social media, print layouts, and presentations.
- Proportions Checked: Make sure people, products, logos, and important objects do not look warped.
- Edges Reviewed: Look for repeated patterns, blurry areas, or stretched textures near the sides.
- Text Protected: Confirm that text layers are not distorted unless that effect is intentional.
- Final Size Confirmed: Check the width and height before export so the image fits your project.
- Quality Reviewed: Zoom in enough to catch pixelation, softness, or jagged lines.
- Original Saved: Keep an editable copy or backup in case you need to make changes later.
Once the image passes this review, export it in the format that matches your purpose. For photos, JPG is often fine. For graphics, transparent elements, screenshots, or text-heavy designs, PNG may be the better option.
Frequently Asked Questions
How Do I Stretch An Image In Pixlr?
Open your image in Pixlr, choose the image size or transform option, and adjust the width or height unevenly. To stretch the whole file, change the image dimensions with proportions unlocked. To stretch only one part, select a layer and use free transform or free distort.
What Is The Difference Between Stretching And Resizing?
Resizing usually keeps the same proportions, so the image becomes larger or smaller without changing shape. Stretching changes one dimension more than the other, which can make the image wider, taller, or distorted. Resizing is safer for photos, while stretching is useful for specific design adjustments.
Can I Stretch A Layer Without Changing The Whole Image?
Yes. Select the layer you want to edit, then use free transform to drag the side, top, or bottom handles. This changes only the active layer. It is useful for backgrounds, shapes, graphics, and mockup elements that need to fit a specific space.
Why Does My Image Look Distorted After Stretching?
Your image looks distorted because the original proportions changed. When width and height are adjusted unevenly, circles may become ovals and people may look wider or thinner. To avoid this, use smaller stretches, keep key subjects proportional, or use crop and canvas tools instead.
Is It Better To Crop Or Stretch An Image?
Crop is often better when you can remove extra areas and still keep the main subject. Stretching is better when you need to fill space and the stretched area is simple or decorative. For portraits, products, and logos, cropping usually gives a more natural result.
Can Pixlr Stretch An Image For A Social Media Banner?
Yes, Pixlr can help you adapt an image for banners by resizing, transforming, cropping, or expanding the canvas. For wide banners, avoid stretching faces or important objects. Try extending the background, using a wider crop, or applying generative expand for a more natural composition.
How Can I Stretch An Image Without Losing Quality?
Start with the largest clear version of the image, make only moderate changes, and check the result at full size before exporting. If the image becomes blurry, reduce the stretch or use an upscaling option first. Keeping an original backup also makes it easier to revise.
Conclusion
Learning how to stretch an image in Pixlr is useful when you need a picture, layer, background, or graphic to fit a specific size. The main methods include changing image size, using free transform, applying free distort, adjusting canvas size, cropping, or using smart resize and expansion tools when they fit the project better.
The best results come from stretching carefully. Keep important subjects natural, use layers when possible, protect text and logos, and review the image before exporting. A small, thoughtful adjustment can make an image fit your design while still looking clean, balanced, and professional.