
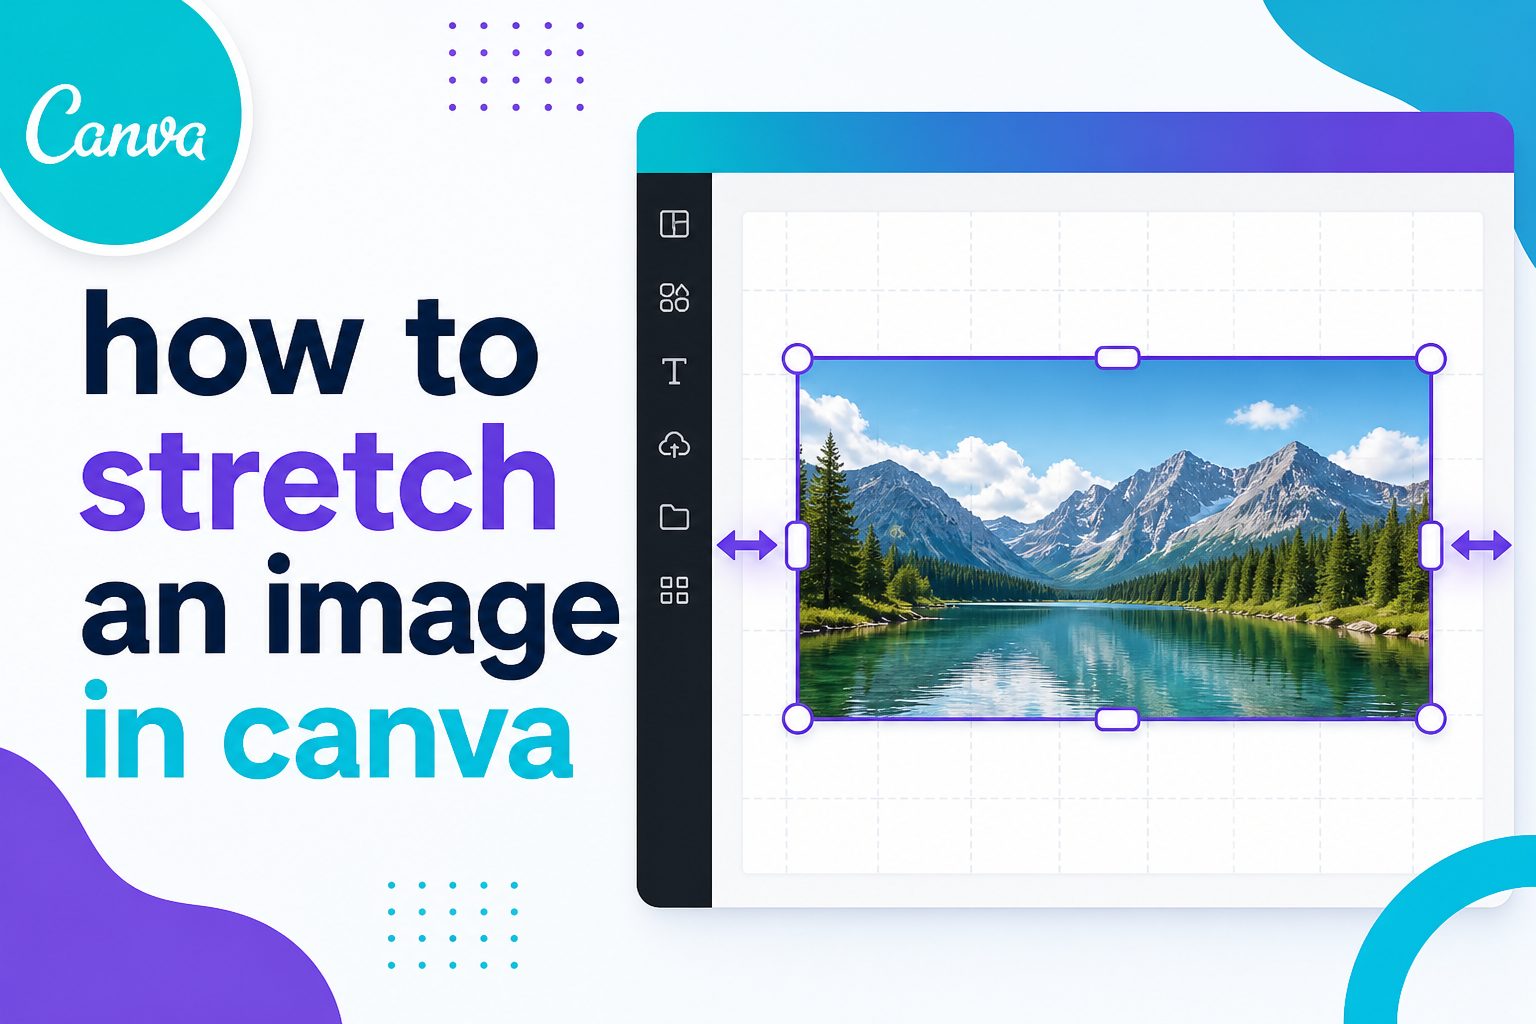
If you want to learn how to stretch an image in Canva, the good news is that the process is simple once you understand the difference between resizing, cropping, and stretching. Canva gives you several ways to adjust an image so it fits a design, fills a frame, matches a layout, or creates a wider or taller visual effect. Whether you are making a social media post, flyer, presentation, thumbnail, banner, or printable design, knowing how to stretch an image properly helps you avoid awkward empty spaces and uneven layouts. In this guide, you will learn what image stretching means, when to use it, how to do it step by step, how to avoid distortion, and what mistakes to watch for. You will also find practical Canva tips for making stretched images look clean, balanced, and professional.
What It Means To Stretch An Image In Canva
Stretching an image in Canva means changing its width, height, or both so it covers a larger area than it originally did. This can make an image wider, taller, or larger overall. Unlike simple resizing, stretching may change the proportions of the image if you pull only one side or corner in a certain direction.
For example, if you drag the side handle of a photo outward, the image may become wider while the height stays the same. This can be useful for backgrounds, banners, abstract images, textures, and some product mockups. However, it can also make people, faces, logos, or objects look unnatural if the image is stretched too far.
Why Stretching Images Matters In Canva Designs
Image stretching is useful because many design formats have fixed dimensions. A photo that looks perfect in a square Instagram post may not naturally fit a YouTube thumbnail, website banner, or presentation slide. Stretching gives you a quick way to fill space and adjust the image to match the design size.
Used carefully, stretching can help your Canva design look more polished. It can remove awkward blank areas, make backgrounds feel more complete, and help images align with text, shapes, and other design elements. The key is knowing when stretching improves the layout and when cropping or resizing would be a better option.
How To Stretch An Image In Canva
The basic process is simple. Canva lets you stretch images directly on the canvas using drag handles. The result depends on which handle you use and whether the image is placed freely or inside a frame.
- Open your Canva design and select the image you want to adjust.
- Click the image once so the resize handles appear around it.
- Drag a side handle outward to stretch the image horizontally.
- Drag a top or bottom handle to stretch the image vertically.
- Drag a corner handle if you want to resize the image while keeping its general proportions.
- Move the image into position so the important part stays visible.
- Zoom out and check whether the image looks natural in the full design.
- Use undo if the image becomes too distorted, then try cropping or resizing instead.
Stretching An Image Without Distorting It
The safest way to make an image bigger in Canva is to resize it proportionally. This means the width and height grow together, so the image keeps its original shape. To do this, select the image and drag from a corner rather than from the side or top.
If you need the image to fill a specific space, try enlarging it first and then cropping the edges. This often looks better than forcing the photo into a new shape. For images with people, products, text, or recognizable objects, proportional resizing is usually the better choice.
Using Canva Frames To Control Image Shape
Frames are one of the easiest ways to fit an image into a layout without manually stretching it too much. A frame acts like a container. You can place an image inside it, then reposition or resize the image within the frame.
When Frames Work Best
Frames are ideal when you want a photo to fit a circle, square, phone screen, card, collage, or fixed design area. Instead of stretching the image freely, you can use the frame to crop it neatly. This is especially helpful for profile photos, product images, mood boards, invitations, and social media graphics.
How To Adjust An Image Inside A Frame
After placing an image inside a Canva frame, double-click the image to edit its position. You can drag it around, zoom in, or zoom out until the most important part is visible. This gives you more control than stretching alone and usually creates a cleaner final result.
Best Uses For Stretched Images In Canva
Stretching is not always the right solution, but it can be very effective in certain design situations. It works best when the image does not contain details that look strange when widened or lengthened.
- Background Photos: Landscapes, skies, walls, paper textures, and blurred photos can often be stretched slightly without looking obvious.
- Website Banners: Wide header graphics may need a photo to extend across the full layout.
- Presentation Slides: A stretched background can help cover the slide and support readable text placement.
- Social Media Covers: Platforms often require wide formats, so images may need adjustment to fit.
- Abstract Graphics: Patterns, gradients, and decorative visuals usually tolerate stretching better than portraits.
- Print Designs: Flyers, posters, and invitations may need images to fill bleed areas or background sections.
When You Should Avoid Stretching Images
Stretching can quickly make a design look unprofessional if the image contains important proportions. Faces may look wider, products may look inaccurate, and logos can appear warped. If the image includes text, stretching may also make the letters harder to read.
A good rule is to avoid stretching anything that must look realistic or brand accurate. Instead, resize proportionally, crop the image, choose a different photo, or use Canva’s background remover and layout tools to create a better fit.
Better Alternatives To Stretching In Canva
Sometimes the best way to stretch an image in Canva is not to stretch it at all. Canva offers several alternatives that can solve the same layout problem while keeping the image natural.
- Crop The Image: Enlarge the image proportionally and trim the parts that fall outside the design.
- Use A Frame: Place the image inside a fixed shape and adjust the visible area.
- Extend The Background: Use a similar color, texture, or blurred copy of the image behind the main photo.
- Choose A Wider Image: A landscape-oriented image will usually work better for banners and covers.
- Add Design Elements: Shapes, blocks of color, or overlays can fill empty space without distorting the photo.
How To Stretch A Background Image In Canva
Background images are the most common images people stretch in Canva. To do this, select the image, drag it until it covers the full design, and position the important area where it supports the layout. If the image is slightly too narrow or short, you can pull the side handles carefully.
For best results, use images with simple edges, soft details, or repeating textures. If a background contains people or objects near the edges, stretching may make them look unnatural. In that case, enlarge the image from the corner and crop it instead.
How To Stretch An Image For Social Media
Social media designs often require specific image sizes. A photo that works for an Instagram square may need adjustment for a story, reel cover, Facebook header, Pinterest pin, or YouTube thumbnail. Canva templates help by giving you the correct canvas size from the start.
After choosing the right template, add your image and resize it to fit. If it does not cover the full space, drag from the corners first. Use side stretching only for small adjustments, especially if the image is a background. Always preview the design at full size before downloading because distortion is easier to miss while zoomed in.
How To Make A Stretched Image Look Professional
A stretched image can still look polished if the adjustment is subtle and intentional. The goal is to make the image fit the design without drawing attention to the edit.
Keep Important Subjects Away From The Edges
If a person, product, or logo sits near the edge of the image, stretching that edge can make the subject look distorted. Try moving the image so important details stay closer to the center. This gives you more flexibility around the edges and helps the final design look more natural.
Use Overlays To Hide Minor Distortion
A light color overlay, transparent shape, or text panel can help soften background distortion. This works especially well for banners, presentations, and social posts where the image supports the message rather than acting as the main subject. Keep the overlay simple so it improves readability without making the design feel crowded.
Check The Image At Final Size
Canva designs can look different when zoomed in, zoomed out, or downloaded. Before exporting, view the design close to its final display size. Look for stretched faces, uneven objects, blurry details, or text that appears too wide. A quick final check can prevent a design from looking rushed.
Common Mistakes When Stretching Images In Canva
One common mistake is dragging the side handle too far. This can make the image look obviously warped. Small adjustments may be fine, but heavy stretching usually reduces quality. If the image starts to look unnatural, undo the change and try another method.
Another mistake is stretching low-resolution images. When a small image is made much larger, it can become blurry or pixelated. Start with the highest-quality image available, especially for print designs, posters, and large banners.
People also forget to check whether the image contains text or logos. These elements reveal distortion quickly because viewers recognize when letters or brand marks look stretched. Keep logos proportional and use official brand files when possible.
Best Practices For Canva Image Stretching
- Stretch Subtly: Small changes are less noticeable and usually look more professional than extreme adjustments.
- Protect Faces And Products: Avoid changing proportions when the image includes people, product photos, or recognizable objects.
- Use Corners First: Corner resizing keeps the image shape more natural and should usually be your first option.
- Crop When Needed: Cropping often solves fit problems better than forcing an image into a new shape.
- Start With Large Images: Higher-resolution photos give you more flexibility when resizing or filling a large canvas.
- Preview Before Exporting: Check the final design carefully so you can spot distortion before sharing or printing.
Expert Tips For Better Canva Image Layouts
Create A Blurred Background Copy: If your image is too small for a wide layout, duplicate it, stretch the copy in the background, blur it, and place the original image on top. This fills the space while keeping the main photo natural.
Use Cropping For Portraits: Portrait photos rarely look good when stretched sideways. Instead, enlarge the portrait, crop it to fit the frame, and adjust the position so the face remains balanced.
Match The Image To The Format: Choose landscape photos for wide banners, portrait photos for vertical stories, and square photos for grid posts. Starting with the right orientation reduces the need for heavy editing.
Leave Room For Text: If you stretch a background for a poster or thumbnail, make sure there is clean space for text. A slightly stretched background can work well when the text area remains readable and uncluttered.
Quick Checklist Before Downloading
- Image Fit Checked: The image covers the design area without awkward gaps.
- Proportions Reviewed: People, products, logos, and text still look natural.
- Resolution Confirmed: The image is not blurry, pixelated, or too low quality.
- Layout Balanced: The image supports the text and other design elements.
- Edges Inspected: No important details are cut off or distorted near the borders.
- Final Preview Done: The design has been checked at a realistic viewing size.
Frequently Asked Questions
Can You Stretch An Image In Canva?
Yes, you can stretch an image in Canva by selecting the image and dragging the side, top, or bottom handles. Dragging a side handle changes the width, while dragging a top or bottom handle changes the height. For a natural result, use this carefully and avoid extreme distortion.
How Do I Stretch An Image Without Making It Look Weird?
The best method is to resize the image from a corner so the width and height change together. If the image still does not fit, crop it or place it inside a frame. Avoid stretching faces, logos, products, or text because distortion is much easier to notice.
Why Does My Image Look Blurry After Stretching?
An image may look blurry because it is too small or low resolution for the size you need. Stretching increases the visible size of the image, which can expose pixelation. Use a larger original file whenever possible, especially for print designs and large social media graphics.
Is Cropping Better Than Stretching In Canva?
Cropping is often better when you want the image to keep its natural proportions. Stretching changes the shape of the image, while cropping simply hides parts of it. For portraits, product images, logos, and realistic photos, cropping usually creates a cleaner and more professional result.
Can I Stretch An Image Inside A Canva Frame?
Yes, but the process works slightly differently. When an image is inside a frame, double-click it to adjust the image within the frame. You can zoom, move, and resize it. This helps the image fit the shape without freely distorting the entire photo.
What Images Are Best For Stretching In Canva?
Backgrounds, textures, abstract graphics, skies, landscapes, and blurred photos are usually the easiest images to stretch. These images have fewer details that look wrong when proportions change. Photos with faces, text, logos, or precise objects should be resized proportionally instead.
Conclusion
Learning how to stretch an image in Canva helps you create cleaner layouts for social media posts, presentations, banners, flyers, and printable designs. The main technique is simple: select the image and drag the handles to adjust its size. The skill is knowing when to stretch, when to crop, and when to use a frame instead.
For the best results, keep stretching subtle, protect important subjects, use high-quality images, and preview your design before downloading. Canva gives you flexible tools, but a careful eye is what makes the final image look polished and intentional.