
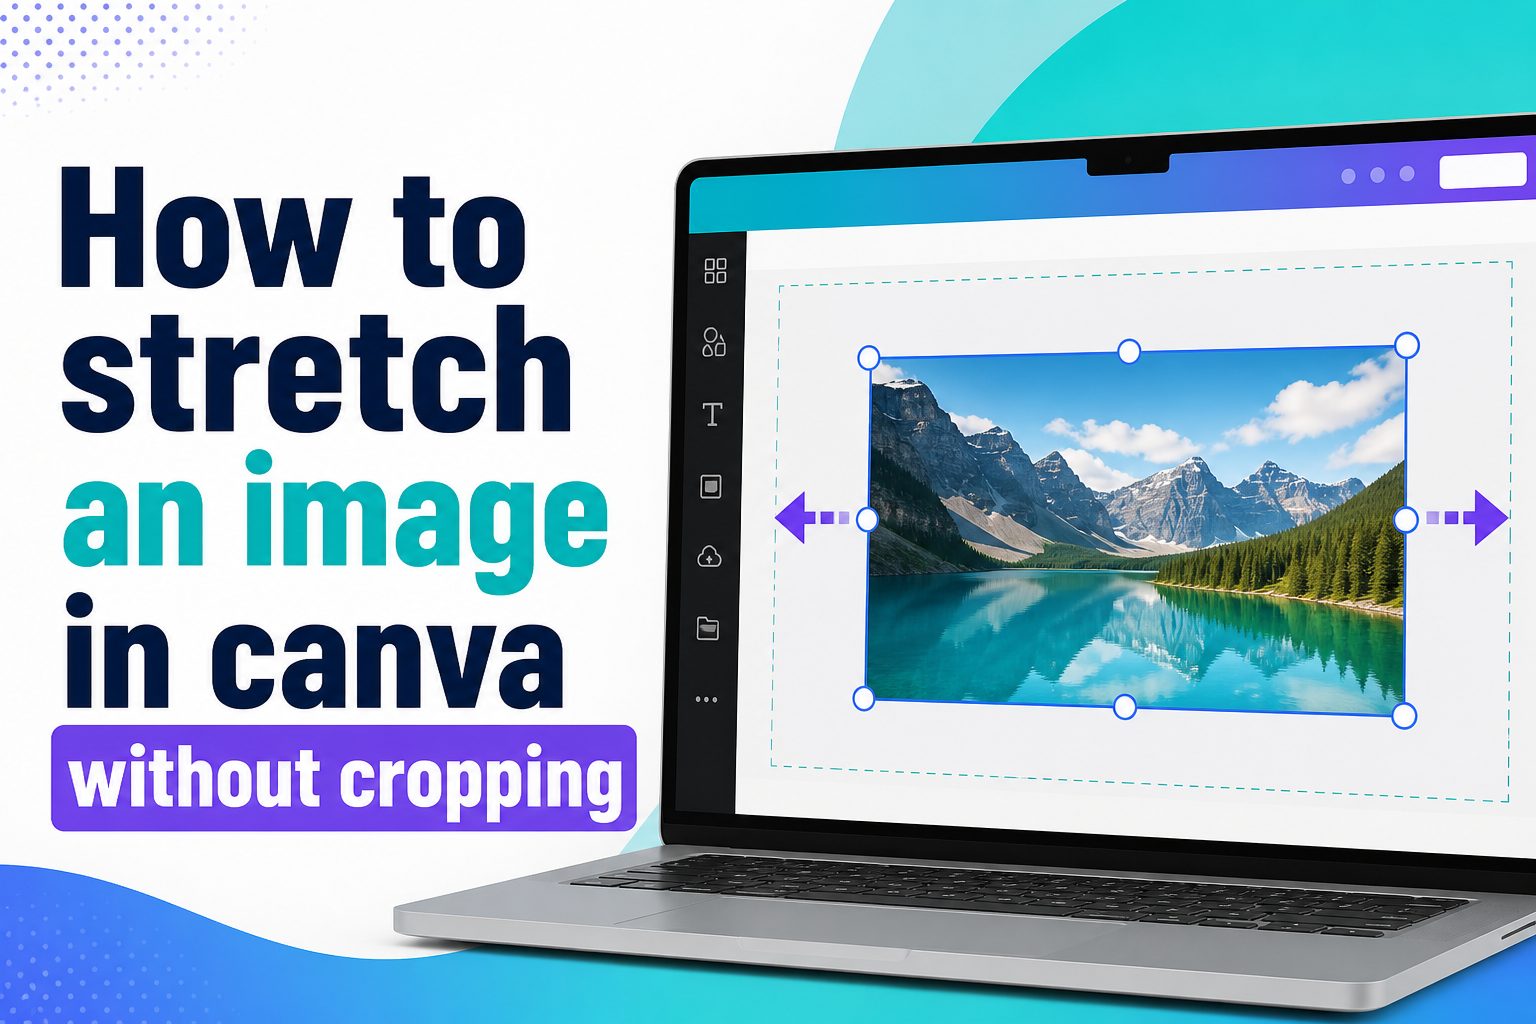
How to stretch an image in Canva without cropping is a common question for anyone creating social media posts, flyers, presentations, thumbnails, posters, or digital designs. Canva makes resizing and adjusting images easy, but it can also be confusing when an image suddenly gets cropped inside a frame or loses important details around the edges. Stretching an image without cropping means adjusting its size, shape, or canvas placement while keeping the full picture visible. This is useful when you need an image to fit a specific layout, cover more space, or match a design size without cutting off faces, products, text, logos, or background details. In this guide, you will learn what stretching means in Canva, how it differs from cropping, the best methods to resize images safely, common mistakes to avoid, and practical tips for getting clean, professional-looking results.
What Stretching An Image In Canva Means
Stretching an image in Canva means changing how much space the image takes up in your design. In simple terms, you are making the image wider, taller, or larger so it fits a certain area. However, stretching does not always mean distorting the image. A good stretch should help the image fit your design while still looking natural.
There are two main ways people use the word “stretch” in Canva. The first means resizing the image proportionally, where the width and height grow together. This keeps the image from looking squeezed or warped. The second means stretching only one side, such as making the image wider but not taller. This can distort the photo if you are not careful.
Cropping is different. Cropping removes or hides part of the image from view. In Canva, this often happens when you drag an image into a frame or resize it beyond the visible area. The image may look like it fits, but part of it is cut off. If your goal is to stretch an image in Canva without cropping, you need to use resizing, positioning, background extension, or canvas adjustment methods instead of forcing the image into a fixed frame.
Why Images Get Cropped In Canva
Images usually get cropped in Canva because the design space and the image ratio do not match. For example, a square photo placed inside a vertical Instagram story design will not naturally fill the whole area without either leaving blank space or hiding part of the image. Canva often tries to help by filling the frame, but that can cause cropping.
This also happens when you use Canva frames, grids, templates, or background image tools. These features are convenient, but they are designed to fill a shape. If the photo does not match the shape, Canva zooms in and crops the edges automatically.
Another reason is dragging from the wrong handle. Corner handles usually resize an image proportionally, while side handles can stretch the image in one direction. If you pull too far from the side, the image can look distorted. If you pull the image larger than the canvas, parts may move outside the visible design area.
The key is to decide whether you want the entire image visible, the image area expanded, or the canvas resized. Each goal needs a slightly different approach.
Benefits Of Stretching Images Without Cropping
Stretching images without cropping gives you more control over your final design. It helps you keep the important parts of the image visible while still creating a layout that feels complete and balanced.
One major benefit is preserving important details. If your image includes a person, product, logo, text, or background element, cropping can remove something essential. A no-crop approach protects the full visual message.
It also improves design flexibility. You can adapt the same photo for different formats, such as Instagram posts, Pinterest pins, YouTube thumbnails, banners, flyers, and presentation slides. Instead of repeatedly searching for new images, you can adjust one image for several uses.
Another benefit is consistency. When you avoid awkward cropping, your visuals look more intentional. This is especially important for brands, portfolios, online shops, event graphics, and professional content.
A no-crop image can also feel more polished. Cut-off faces, missing product edges, and uneven framing can make a design look rushed. Learning how to stretch or resize carefully helps your Canva designs look cleaner and more professional.
How To Stretch An Image In Canva Without Cropping
The easiest way to stretch an image in Canva without cropping is to resize it using the corner handles instead of placing it into a restrictive frame. This keeps the image visible and prevents Canva from automatically hiding parts of it.
First, upload or select your image. Click the image once so the resize handles appear. Drag one of the corner handles outward to make the image larger while keeping its original proportions. If the image becomes too large for the page, drag it back inward or reposition it so the full image stays inside the canvas.
If you need the image to fill more space but do not want to crop it, resize the canvas or add background elements instead of forcing the image to cover the entire design. For example, you can place the full image in the center and use a matching background color, blurred duplicate image, gradient, or simple shape behind it to fill empty areas.
If you are using a frame, double-click the image inside the frame. Then zoom out or drag the image until the part you want is visible. However, remember that a frame always has boundaries. If the frame shape does not match the photo ratio, some empty space or cropping may be unavoidable unless you change the frame or use a different layout.
Best Method For Keeping The Full Image Visible
The best method is to use proportional resizing and adjust the design around the image. This means you do not force the image into a shape that does not match it. Instead, you make the image the right size first and then build the surrounding design.
A common mistake is trying to make every image fill the entire canvas. That works only when the image ratio and canvas ratio are similar. If they are different, the image must either crop, distort, or leave blank space. The cleanest solution is often to accept some blank space and style it intentionally.
For example, if you have a horizontal photo and need a vertical story design, place the full horizontal image near the center. Then fill the top and bottom areas with a background color from the photo. You can also duplicate the image, enlarge the duplicate behind the original, blur it, and use it as a background. This keeps the full image visible while making the design feel complete.
This method is especially useful for portraits, product photos, event pictures, food photos, screenshots, and graphics with text. It avoids cutting off important information and gives the design a more deliberate look.
Using Canva Frames Without Cropping Important Details
Canva frames are helpful when you want an image inside a circle, phone mockup, rectangle, collage, or decorative shape. However, frames are one of the main reasons images get cropped. A frame controls the visible area, so the image must fit inside that shape.
To reduce cropping in a frame, double-click the image after placing it inside. Canva will show the full image area and let you reposition it. Drag the image until the most important part is centered. You can also use the zoom slider or resize handles to make more of the photo visible inside the frame.
If the image still crops too much, choose a frame with a ratio closer to your photo. A tall portrait photo works better in a vertical frame. A wide landscape photo works better in a horizontal frame. A square image works well in square or circular frames.
If you need the entire image visible, do not use a frame unless the frame ratio matches the photo. Instead, place the image directly on the canvas and use shapes or borders around it. This gives you a framed look without forcing Canva to crop the image.
How To Resize The Canva Design Instead Of The Image
Sometimes the problem is not the image. The problem is the design size. If your canvas is too narrow, too tall, or the wrong ratio, stretching the image may not solve the issue. In that case, resizing the design can protect the image from cropping.
Canva Pro users can use the Resize feature to change the design dimensions. For example, you can turn a square post into a landscape banner or a vertical story. After resizing, you can adjust the image so it fits naturally in the new space.
If you do not have Canva Pro, you can create a new design with custom dimensions and copy your image into it. This takes a little more time, but it gives you the same basic control. Choose dimensions that match the image ratio as closely as possible.
Resizing the canvas is useful when creating print designs, website banners, digital ads, presentation covers, invitations, and social media graphics. Instead of stretching the photo until it looks unnatural, you adapt the workspace to support the image.
How To Fill Empty Space Without Cropping
When you keep the full image visible, you may see empty space around it. This is normal when the image and canvas have different proportions. The goal is not always to remove empty space completely. The goal is to make it look intentional.
One option is to use a solid background color. Pick a color that already appears in the image so the design feels connected. Canva’s color suggestions can help you choose a matching shade.
Another option is to use a blurred background. Duplicate the image, enlarge the copy until it fills the canvas, send it backward, and apply blur or transparency. Then place the original full image on top. This is a popular no-crop technique for reels covers, story graphics, profile visuals, and thumbnails.
You can also use shapes, patterns, borders, or text areas to balance the blank space. For example, a horizontal image on a vertical flyer can sit at the top while the lower area holds event details. A product image can sit beside a price, feature list, or callout.
The empty space should support the design, not feel like an accident.
When To Stretch And When Not To Stretch
Stretching is helpful when a small adjustment makes the image fit better. It is not helpful when it noticeably changes the subject’s shape. People, products, logos, and text can look strange when stretched too far in one direction.
Proportional resizing is usually safe. This means the image gets larger or smaller without changing its shape. Non-proportional stretching is riskier because it changes the relationship between width and height.
You can stretch simple textures, abstract backgrounds, sky photos, fabric patterns, and some flat color images more freely because distortion is less obvious. But portraits, faces, brand marks, screenshots, and product images should be handled carefully.
A good rule is to check the image after every adjustment. If a face looks wider, a circle turns into an oval, or text looks squeezed, the image has been stretched too much. Undo the change and use a background fill, crop adjustment, or canvas resize instead.
Step By Step Canva No Crop Image Method
1. Open your Canva design and add the image you want to use. Upload your own image or choose one from Canva’s media library.
2. Click the image once and place it directly on the canvas instead of dropping it into a frame or grid.
3. Drag a corner handle to resize the image proportionally. Avoid pulling only from the side unless you intentionally want a stretched effect.
4. Position the image so every important detail stays inside the canvas. Keep faces, text, products, and logos away from the edge.
5. If the image does not fill the design, choose a background color that matches the photo or your brand style.
6. For a fuller look, duplicate the image, enlarge the duplicate behind the original, and blur it lightly to create a no-crop background.
7. Add text, icons, shapes, or design elements only after the image placement is settled. This prevents layout conflicts later.
8. Zoom out and preview the full design. Check that nothing important is cut off and the image does not look warped.
9. Download the design in the right format for your purpose, such as PNG for digital graphics or PDF Print for printable files.
Practical Use Cases For No Crop Canva Images
A no-crop image method works in many everyday design situations. It is especially useful when the full photo matters and you cannot afford to lose important visual details.
For social media, it helps when converting one image into multiple formats. A landscape photo can become an Instagram story, a Pinterest pin, or a Facebook cover without cutting off the subject.
For product marketing, no-crop resizing protects the item’s shape and edges. This is important for online shops, catalogs, sale graphics, and promotional posts where the product must be clearly visible.
For personal events, it helps preserve faces and memories. Birthday invitations, wedding graphics, graduation announcements, and family collages look better when people are not awkwardly cropped.
For business designs, it protects logos, screenshots, charts, and presentation visuals. Cropping a chart or software screenshot can remove important information, while stretching it too much can make it hard to read.
For YouTube thumbnails and blog graphics, a no-crop approach lets you combine images with text while keeping the subject clear and balanced.
Common Mistakes To Avoid
One common mistake is dragging the side handle too far. This can make people look wider or taller than they really are. Use corner handles for most resizing tasks.
Another mistake is forcing every image to fill the full canvas. If the photo ratio does not match the design ratio, filling the canvas usually causes cropping or distortion. Use background fills instead.
A third mistake is ignoring frames. Canva frames are useful, but they crop based on the frame shape. If the full image must remain visible, place the image directly on the canvas.
Many users also forget to preview the design at full size. A photo may look fine while editing, but once downloaded, you might notice that text, faces, or edges are too close to the border.
Another mistake is using a low-resolution image and stretching it too much. Enlarging a small photo can make it blurry or pixelated. Start with the highest quality version available whenever possible.
Finally, avoid stretching images with text. Text distortion is easy to notice and can make the design look unprofessional.
Best Practices For Clean Canva Resizing
Keep the image proportional whenever possible. This is the simplest way to avoid distortion and keep your design looking professional.
Use matching background colors to handle empty space. A well-chosen background can make a no-crop image look intentional instead of unfinished.
Choose the right canvas size before designing. If you know the final format, start with that size so you do not need major adjustments later.
Leave breathing room around important subjects. Do not place faces, products, or text too close to the edge, especially if the design will be printed or displayed on different screens.
Use frames only when the frame shape supports the photo. If a frame crops too much, change the frame or remove it.
Check image quality before downloading. If the image looks blurry in Canva, it will likely look blurry after export too.
Advanced Tips For Better Results
If you want a more polished result, use Canva’s background remover or image editing tools when appropriate. Removing the background from a subject can let you place the person or product on a new design without worrying about the original photo ratio.
You can also extend the visual feel of an image by layering. Put the full image in front, then use a larger blurred version behind it. This creates depth and fills the page without cropping the main image.
For brand designs, create a reusable layout. Set up a template with a fixed image area, background treatment, and text placement. This saves time and keeps future Canva designs consistent.
For print projects, check margins carefully. Even if the image is not cropped in Canva, printers may trim the edges slightly. Keep important content away from the outer edge.
For presentations, avoid over-stretching screenshots. If a screenshot does not fit, place it in a clean panel or resize the slide area. Distorted screenshots are hard to read and can reduce trust in the design.
Troubleshooting Image Stretching Problems
If your image keeps cropping, check whether it is inside a frame. Double-click it and zoom out, or remove it from the frame and place it directly on the canvas.
If the image looks distorted, undo the last resize and use the corner handles. Side handles change only one dimension and can warp the image.
If there is too much blank space, add a background treatment instead of enlarging the image until it crops. A color, blur, pattern, or duplicate background can solve the layout issue.
If the image becomes blurry, replace it with a higher-resolution file. Canva cannot fully restore detail that is not present in the original image.
If your download cuts off edges, check whether any part of the image extends outside the canvas. Also review print bleed settings if you are creating a printable design.
Final Checklist Before Downloading
Use this quick checklist before exporting your Canva design:
The full image is visible and no important detail is cropped.
The image is resized proportionally unless distortion is intentional.
Faces, products, logos, and text are away from the design edges.
The background fills empty space in a clean and natural way.
The image resolution is high enough for the final use.
The design has been previewed at full size before download.
The export format matches the purpose of the design.
Frequently Asked Questions
Can You Stretch An Image In Canva Without Cropping It?
Yes, you can stretch an image in Canva without cropping it by placing the image directly on the canvas and resizing it with the corner handles. This keeps the image proportional and visible. If the image does not fill the whole design, use a matching background or blurred duplicate instead of forcing it to crop.
Why Does Canva Crop My Image Automatically?
Canva often crops images automatically when you place them inside frames, grids, or background areas. These tools are designed to fill a fixed shape, so Canva zooms or hides part of the image when the ratios do not match. To avoid this, use direct image placement or adjust the frame position.
How Do I Resize An Image Without Distorting It?
To resize an image without distortion, click the image and drag from a corner handle. This changes the width and height together, keeping the original proportions. Avoid dragging only the side or top handles unless you want to change the image shape intentionally.
What Should I Do If My Image Does Not Fit The Canva Design?
If your image does not fit, do not immediately enlarge it until it crops. Try changing the canvas size, adding a background color, using a blurred duplicate image, or placing text in the empty space. These methods keep the full image visible while making the layout look finished.
Can I Stretch A Background Image Without Cropping?
You can stretch some background images, especially textures, patterns, skies, or abstract visuals, because distortion is less noticeable. For photos with people, products, text, or logos, stretching the background too much can look unprofessional. A blurred duplicate background is often a better solution.
Does Canva Pro Make No Crop Resizing Easier?
Canva Pro can make resizing easier because it includes tools such as Magic Resize and background remover. However, you can still resize images without cropping in the free version by using corner handles, custom design sizes, background colors, and careful image placement.
What Is The Best Image Size For Canva Designs?
The best image size depends on where the design will be used. Social media posts, stories, banners, thumbnails, flyers, and presentations all have different dimensions. For the cleanest result, start with a high-resolution image and choose a Canva canvas size that closely matches the image ratio.
Conclusion
Learning how to stretch an image in Canva without cropping comes down to using the right method for the situation. Proportional resizing, careful positioning, canvas adjustments, and background fills can help you keep the full image visible without making the design look awkward or unfinished.
The most important rule is simple: do not force an image into a shape that does not suit it. If the photo and canvas have different proportions, work with the layout instead of against it. With a few practical Canva techniques, you can create cleaner social posts, flyers, thumbnails, invitations, and presentations while protecting every important part of your image.