
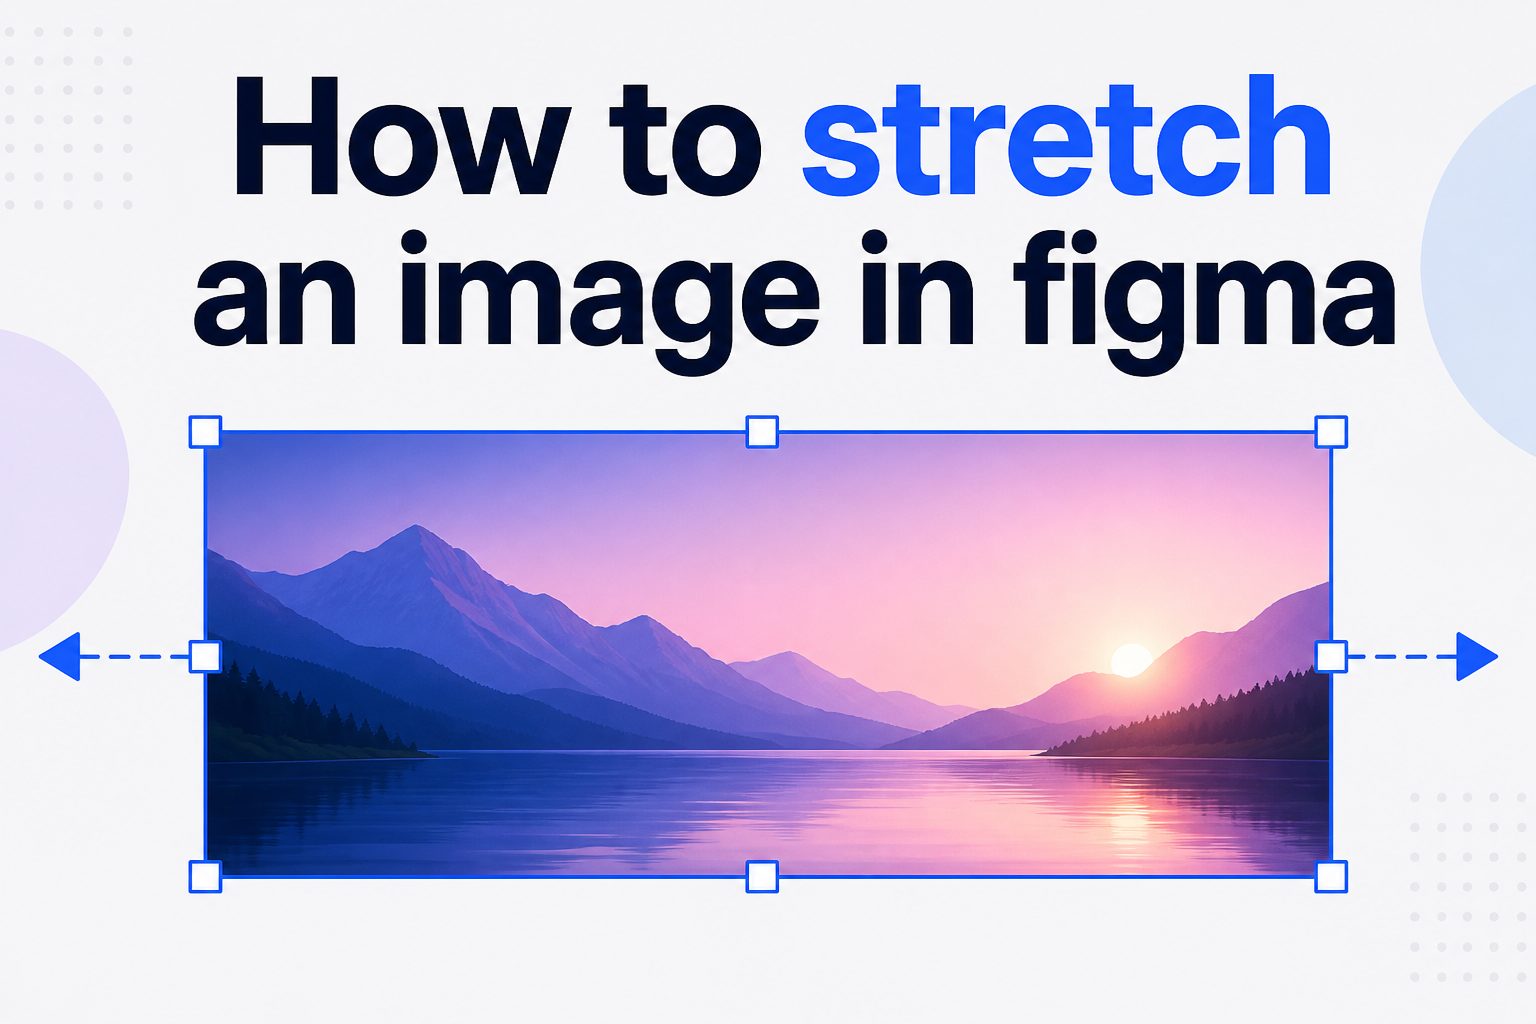
Knowing how to stretch an image in Figma is useful when you need a picture to fit a frame, fill a layout, resize a product mockup, adjust a background, or prepare an image for a design system. Figma gives you several ways to resize and reshape images, but stretching is not always as simple as dragging a corner. If you pull the wrong handle or use the wrong setting, the image may distort, crop unexpectedly, or lose the composition you wanted. In this guide, you will learn what stretching an image means in Figma, when to use it, how resizing works, and the best methods for stretching images without ruining your design. You will also see practical examples, common mistakes, expert tips, and answers to frequently asked questions so you can work faster and make cleaner visual decisions.
What Stretching An Image In Figma Means
Stretching an image in Figma means changing its width, height, or both so it fits a specific space. This can involve resizing the image proportionally, which keeps the original aspect ratio, or resizing it non-proportionally, which changes the shape of the image. When people search for how to stretch an image in Figma, they often mean one of several things: making an image wider, making it taller, filling a frame, stretching a background, or reshaping an image inside a mask.
It is important to separate stretching from cropping. Stretching changes the dimensions of the image itself. Cropping hides part of the image while keeping the visible area inside a frame. Figma supports both, and the right choice depends on whether you want the whole image visible, the image area filled, or the image distorted intentionally for a design effect.
Why Image Stretching Matters In Figma
Images are rarely dropped into a design at the perfect size. A hero photo may need to span a full browser width. A profile image may need to fit a square avatar. A product screenshot may need to align with a card layout. A background texture may need to stretch across a section. If you know how image resizing works, you can make these adjustments quickly without fighting the tool.
Stretching also affects visual quality. Poorly stretched images can look blurry, warped, or amateur. A face may become too wide, a product may look compressed, or a screenshot may lose readability. Good image handling helps your design look intentional, consistent, and professional across desktop, tablet, and mobile layouts.
How Images Work In Figma
In Figma, an image is usually treated as a fill inside a shape, frame, or vector object. When you place an image directly onto the canvas, Figma displays it as a rectangle with an image fill. This means the visible image is connected to the dimensions of that object. When you resize the object, the image fill responds based on its fill mode.
The most important image fill modes are Fill, Fit, Crop, and Tile. Fill makes the image cover the entire object, often cropping the edges. Fit shows the whole image inside the object, which may leave empty space if the aspect ratio does not match. Crop lets you manually reposition and scale the visible image area. Tile repeats the image like a pattern. Understanding these modes is the key to stretching images correctly.
How To Stretch An Image In Figma
The simplest way to stretch an image in Figma is to select the image layer and drag one of its side handles. Dragging a side handle changes only the width or height, which can stretch the image horizontally or vertically. Dragging a corner handle usually resizes the image proportionally unless constraints or modifier keys change the behavior.
-
- Select the image layer on the canvas.
- Look for the bounding box around the image.
- Drag a side handle if you want to stretch only the width or height.
- Drag a corner handle if you want to resize the image more evenly.
- Use the width and height fields in the right panel for precise dimensions.
- Check the image fill setting if the result looks cropped instead of stretched.
- Adjust the image manually with Crop mode if you need better composition.
- Review the result at actual size to make sure the image still looks sharp.
This process works well for basic resizing. However, if you are trying to stretch an image inside a specific layout, frame, or component, you may need to use constraints, frames, masks, or fill settings for better control.
Using The Scale Tool For Better Resizing
The Scale tool is one of the safest ways to resize images and design elements in Figma because it scales the selected object more predictably. It is especially useful when you are resizing an image along with text, icons, strokes, or grouped elements. The Scale tool can help preserve proportions and visual relationships better than manually dragging handles.
To use it, select the image, choose the Scale tool, and drag from the bounding box. If you want a proportional resize, drag from a corner. If you need a more specific stretch, use the width and height values in the design panel after scaling. This method is practical when working with mockups, presentation slides, social media graphics, and image-heavy UI layouts.
Image Fill Settings In Figma
Many image stretching problems happen because the image layer is not behaving like a normal bitmap. Since images are often fills, you need to check the fill mode before deciding what to adjust.
Fill Mode
Fill mode makes the image cover the full object. This is useful for cards, thumbnails, banners, and hero sections where empty space is not acceptable. The downside is that Figma may crop part of the image to maintain coverage. If your image appears zoomed in or cut off after resizing, Fill mode is usually the reason.
Fit Mode
Fit mode keeps the entire image visible inside the object. This is useful for logos, product screenshots, diagrams, and images where no detail should be hidden. If the frame and image have different aspect ratios, Fit mode may create blank space around the image. It is cleaner than forced stretching when accuracy matters.
Crop Mode
Crop mode gives you manual control over what part of the image appears inside the object. You can resize the container while repositioning the image separately. This is often the best option when you want an image to fit a fixed frame but still preserve a strong composition.
Tile Mode
Tile mode repeats the image instead of stretching it. It is useful for patterns, textures, backgrounds, and repeating design assets. If your goal is to create a seamless visual surface rather than enlarge one image, Tile mode may be better than stretching.
How To Stretch An Image Without Distortion
If you want to resize an image without making it look warped, keep the original aspect ratio. The aspect ratio is the relationship between width and height. For example, a square image has a 1:1 ratio, while a wide banner may have a 16:9 ratio. Changing only one dimension breaks that relationship and creates distortion.
For photos of people, products, screenshots, and interface mockups, proportional resizing is usually the best choice. Use corner handles, the Scale tool, or numerical width and height values that preserve the original ratio. If the image needs to fit a differently shaped space, use Crop or Fill instead of stretching the image itself.
- Use Proportional Resizing: Drag from a corner when you want the image to stay natural.
- Use Crop For Composition: Crop the image when the container shape does not match the image shape.
- Avoid Stretching Faces: Portraits and people photos look unnatural when stretched unevenly.
- Check Screenshots Carefully: UI screenshots become harder to read when distorted.
- Start With A Larger Image: Enlarging a tiny image can create blur and pixelation.
- Preview At Real Size: Zoom to 100 percent to judge quality more accurately.
When Stretching An Image Is Useful
Stretching is not always a mistake. In some cases, it is exactly what the design needs. Background textures, abstract images, gradients saved as bitmaps, shadows, and decorative overlays can often be stretched without causing obvious quality problems. The key is knowing whether the viewer needs to recognize accurate proportions.
Hero Backgrounds: A large website hero may require an image to fill a wide area. In this case, Fill or Crop often works better than manual stretching, but slight stretching can be acceptable for abstract visuals.
Product Mockups: Screenshots placed into device frames may need precise resizing. Here, stretching can be useful only if the screenshot and target screen have the same or very similar aspect ratio.
Social Media Graphics: Images for posts, stories, covers, and ads often need different sizes. Instead of distorting the image, create separate frames and crop the image for each format.
Decorative Textures: Paper textures, noise, grain, fabric, and abstract backgrounds can often be stretched because small distortion is less noticeable.
How To Stretch An Image Inside A Frame
Frames are central to Figma layouts, so stretching an image inside a frame is a common task. First, place the image into the frame or use it as the frame fill. Then resize the frame to the dimensions you need. After that, adjust the image fill mode based on your goal.
If you want the frame completely covered, use Fill. If you want the whole image visible, use Fit. If you want to choose the visible area manually, use Crop. This workflow is better than repeatedly resizing the image layer because it separates the container from the image content. That gives you more control when designing responsive layouts, cards, banners, and thumbnails.
How To Stretch A Background Image In Figma
Background images are usually best handled as fills on frames or rectangles. Create a frame or rectangle at the size you need, add the image as a fill, and choose the correct fill setting. For most background images, Fill mode is the easiest option because it covers the full surface.
If the background contains important details, switch to Crop and reposition the image so the key subject stays visible. For example, if a person is on the right side of a hero image, you may need to crop differently for desktop and mobile frames. This is where Figma is especially useful: you can duplicate frames for different screen sizes and adjust the image position for each layout.
How To Stretch An Image In A Component
When an image is inside a component, resizing depends on the component structure. If the image is a fill on a frame, check the frame constraints and fill mode. If the image is a separate layer, check whether it is grouped, masked, or constrained to the parent frame. Components can make resizing feel confusing because the image may be controlled by the parent container.
For reusable cards or UI components, it is usually better to place the image in a dedicated image frame. Set the image frame to resize with the component, then use Fill or Crop for the image itself. This keeps the component flexible while preventing accidental distortion. It also makes image replacement easier later.
Best Practices For Stretching Images
Good image stretching is less about dragging handles and more about choosing the right method for the situation. Before you resize, ask whether the image needs to remain realistic, whether any part can be cropped, and whether the container size is fixed.
- Keep Real Images Natural: Photos of people, products, and places should usually keep their original proportions.
- Use Frames For Layout Control: Put images inside frames when they need to fit cards, banners, or responsive sections.
- Choose Fill Mode Intentionally: Fill is useful for coverage, but it can crop important parts of the image.
- Use Crop For Better Composition: Manual cropping gives you control over what the viewer sees.
- Avoid Over-Enlarging Small Files: A low-resolution image will not become sharp just because it is bigger in Figma.
- Check Multiple Breakpoints: An image that works on desktop may need a different crop on mobile.
Common Mistakes To Avoid
One common mistake is dragging only one side of a photo and accidentally making the subject look wider or taller than normal. This is especially noticeable with faces, logos, circles, screenshots, and product images. If accuracy matters, resize proportionally or crop the image instead.
Another mistake is assuming Fill mode stretches the image. Fill does not simply stretch the full image into the shape. It scales the image to cover the object, which may crop parts of it. If you cannot see the full image, try Fit or Crop mode.
Designers also forget to check image quality after enlargement. Figma can display an image at a larger size, but it cannot restore missing detail from a small original file. When working on high-quality visuals, start with images that are large enough for the final design.
Finally, many people resize images without considering the final export. A design may look fine on the canvas but become blurry when exported at the wrong size. Always check export settings when preparing assets for production, presentations, or handoff.
Expert Tips For Cleaner Image Resizing
Use numerical sizing when precision matters. Dragging is fast, but width and height fields are better for exact layout work. This is especially helpful when preparing images for design systems, product cards, app screens, and marketing assets that must follow specific dimensions.
Duplicate the original image before heavy editing. Keeping a clean copy makes it easy to compare versions or recover the original composition. This is useful when experimenting with crops for different screen sizes.
Use masks when you need creative image shapes. A mask lets you show an image through another shape, such as a circle, custom blob, or angled panel. This is different from stretching, but it often solves the same design problem in a more polished way.
For responsive layouts, create separate frames for desktop, tablet, and mobile. Do not assume one stretched image will work everywhere. Different screen shapes often need different crops, especially when the image has a clear subject.
Practical Examples Of Image Stretching
Suppose you are designing a landing page and need a photo to fill a wide hero section. Instead of stretching the image sideways, place it as a fill in the hero frame and use Crop to position the subject. This keeps the photo natural while covering the full area.
If you are creating a profile card and the uploaded photo is rectangular, put it inside a square frame and use Fill or Crop. This creates a clean square image without squeezing the person’s face. The same approach works for team cards, testimonial cards, and user avatars.
If you are placing a screenshot inside a laptop mockup, resize it carefully using exact dimensions. Screenshots can look wrong if they are stretched unevenly, because text, icons, and interface spacing become distorted. Use a screenshot that matches the mockup ratio whenever possible.
Checklist Before Finalizing Your Image
Before you move on from an image adjustment, take a moment to check the details. Small resizing issues are easy to miss while zoomed out, but they can stand out once the design is exported or presented.
- Aspect Ratio Checked: Make sure important images have not been accidentally distorted.
- Fill Mode Reviewed: Confirm whether the image is using Fill, Fit, Crop, or Tile.
- Subject Position Checked: Ensure faces, products, text, or key details are visible.
- Image Quality Reviewed: Zoom in and confirm the image is not blurry or pixelated.
- Responsive Frames Tested: Check desktop, tablet, and mobile versions if needed.
- Export Size Confirmed: Make sure final export settings match the intended use.
Frequently Asked Questions
How Do I Stretch An Image In Figma?
Select the image layer and drag a side handle to stretch it horizontally or vertically. If you want to resize it without distortion, drag from a corner or use the Scale tool. You can also adjust the width and height values in the right panel for more precise control.
Why Does My Image Crop Instead Of Stretch In Figma?
Your image is probably using Fill mode. Fill makes the image cover the object, which can crop the edges instead of showing the entire image. Change the image fill setting to Fit if you want the full image visible, or use Crop if you want manual control.
How Do I Resize An Image Without Distorting It?
Resize the image proportionally by dragging from a corner or using matching width and height proportions. Avoid dragging only one side unless you intentionally want distortion. For fixed containers, use Crop or Fill instead of forcing the image into an unnatural shape.
Can I Stretch A Background Image In Figma?
Yes. Create a frame or rectangle, add the image as a fill, and resize the object to the background size you need. For most backgrounds, Fill mode works well. If the image has an important subject, use Crop to position it carefully.
What Is The Difference Between Fill And Fit In Figma?
Fill makes the image cover the whole shape or frame, which may crop part of the image. Fit keeps the entire image visible, but it may leave empty space if the image and container have different proportions. Each mode solves a different layout problem.
Why Does My Image Look Blurry After Stretching?
The original image may be too small for the size you are using. Stretching a low-resolution image makes pixels more visible and reduces sharpness. Start with a larger image when possible, and check the design at actual size before exporting.
Should I Stretch Or Crop Images For UI Design?
For most UI design work, cropping is better than uneven stretching. Cropping keeps photos, products, and screenshots looking natural while allowing them to fit fixed frames. Stretching is better reserved for abstract backgrounds, textures, or cases where distortion is intentional.
Conclusion
Learning how to stretch an image in Figma helps you work more confidently with photos, screenshots, backgrounds, mockups, and reusable components. The main idea is simple: resize proportionally when accuracy matters, use Fill when you need coverage, use Fit when the full image must remain visible, and use Crop when composition matters most.
The best results come from choosing the right method before you drag the handles. Keep important images natural, check the fill mode, review image quality, and test your design at the sizes where it will actually be used. With those habits, image resizing in Figma becomes faster, cleaner, and much easier to control.